
Screen shots - IRD Filing (IR348 and IR345)
Step 11:
Import the file.
Note that this area relates to the IRD's website - please contact IRD if you have any problems with this part.
You should have now returned to the "File transfer" area and will probably have the following options:
Import and send files(s)
Import and check files(s)
Import files(s)
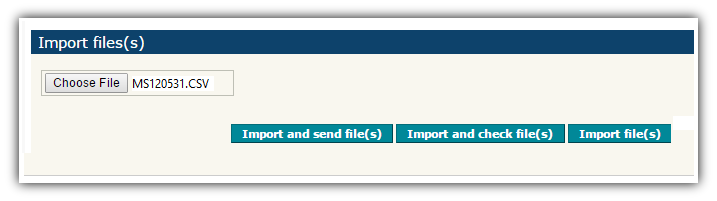
Click the button you require. If you are not sure, click Import and check files(s) and see below...
If you click "Import and check file(s)" or "Import file(s)"
You may want to "Import and check file(s)" before sending, or even just "import file(s)".
This should return you to the "Work Space" and you can select the file there, then send it.
This is usually done by ticking the box beside the file you want to send, and then clicking "send". See the image below. The IRD have instructions for this - please read the instructions on the IRD's site in case they have changed since the time the image below was created.
You can click anywhere on the image below to see the next step. 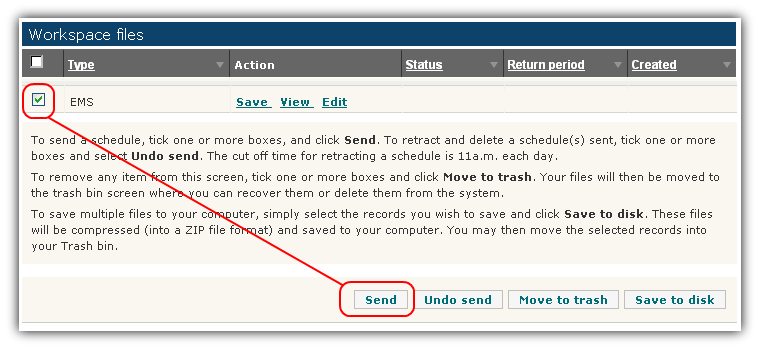
Step-1 Step-2 Step-3 Step-4 Step-5 Step-6 Step-7 Step-8 Step-9 Step-10 Step-11 Step-12 Step-13